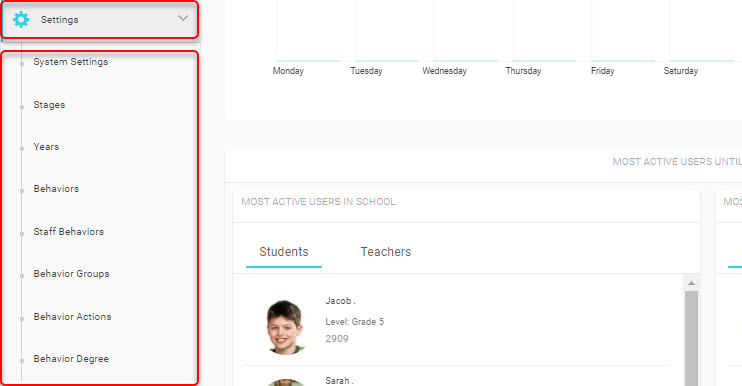
Click Settings-> Stages
After you set system settings and school year with semester. You need to add school
stages -> Level -> Import Courses -> Add Lectures
المراحل الدراسية
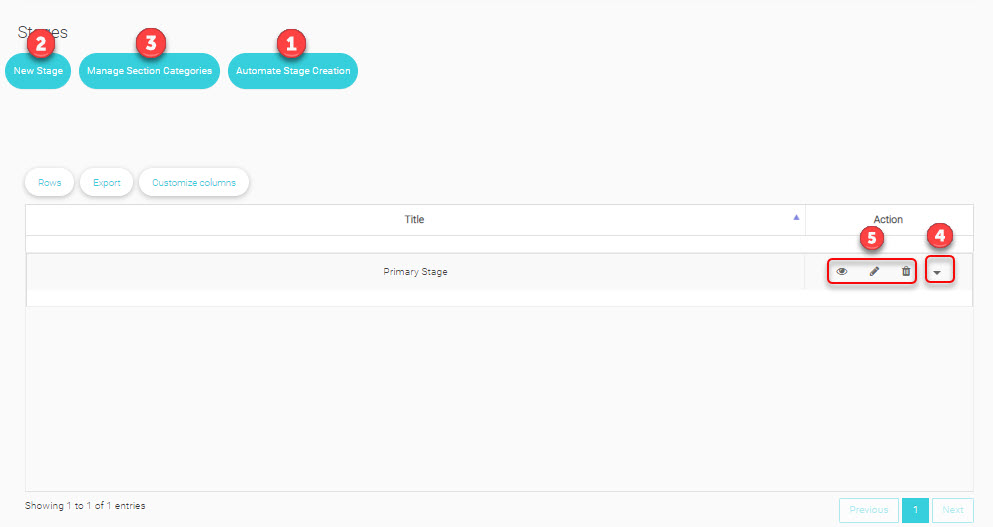
Stages->Automate Stage Creation
If you are a new school it’s better to use this way to create all stages and their level one time.
Check number ‘ 1 ‘ at the picture above for more details of how to create them.
Stages->Add stages
At this step if you want to add new stage in late use.
Check number ‘ 2 ‘ at the picture above for more details of how to create them.
Level
Then you need to go more action and add level for that stage.
Check number ‘ 4 ‘ at the picture above for more details of how to create them.
Find here explanation of some data will help you to add Level :
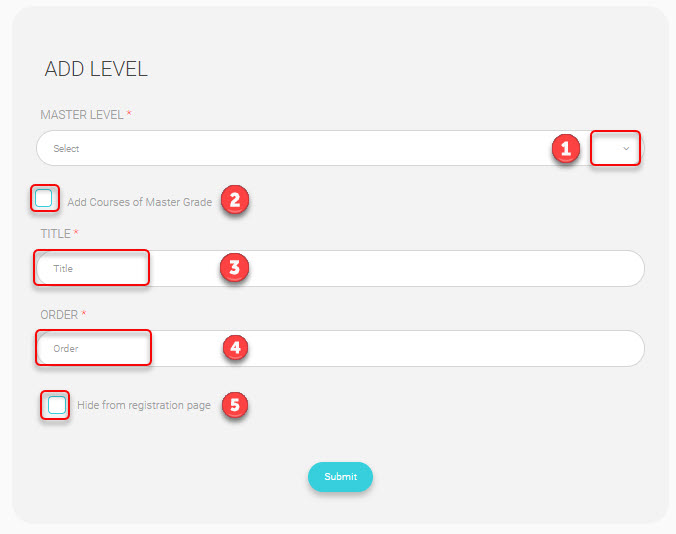
Section
Drop-down list
Choose Sections
No need to add section because its auomaticly added when you add student from users managment , But you can :
– View -Edit section
– Re-Assign Students into Sections
– View Student list
– Assign Home Room Teacher
Check number ‘ 2 ‘ at the picture above for more details.
Import Courses
This option will let you upload many courses as a bulk which will save time and effort.
And you can upload courses individually one by one from Course Management -> Courses.
More Option :
Import Course
Excel Import Level Courses:
Add Lectures
You can also add lectures from Course Management -> Lectures as well.
So both ways are work.


